
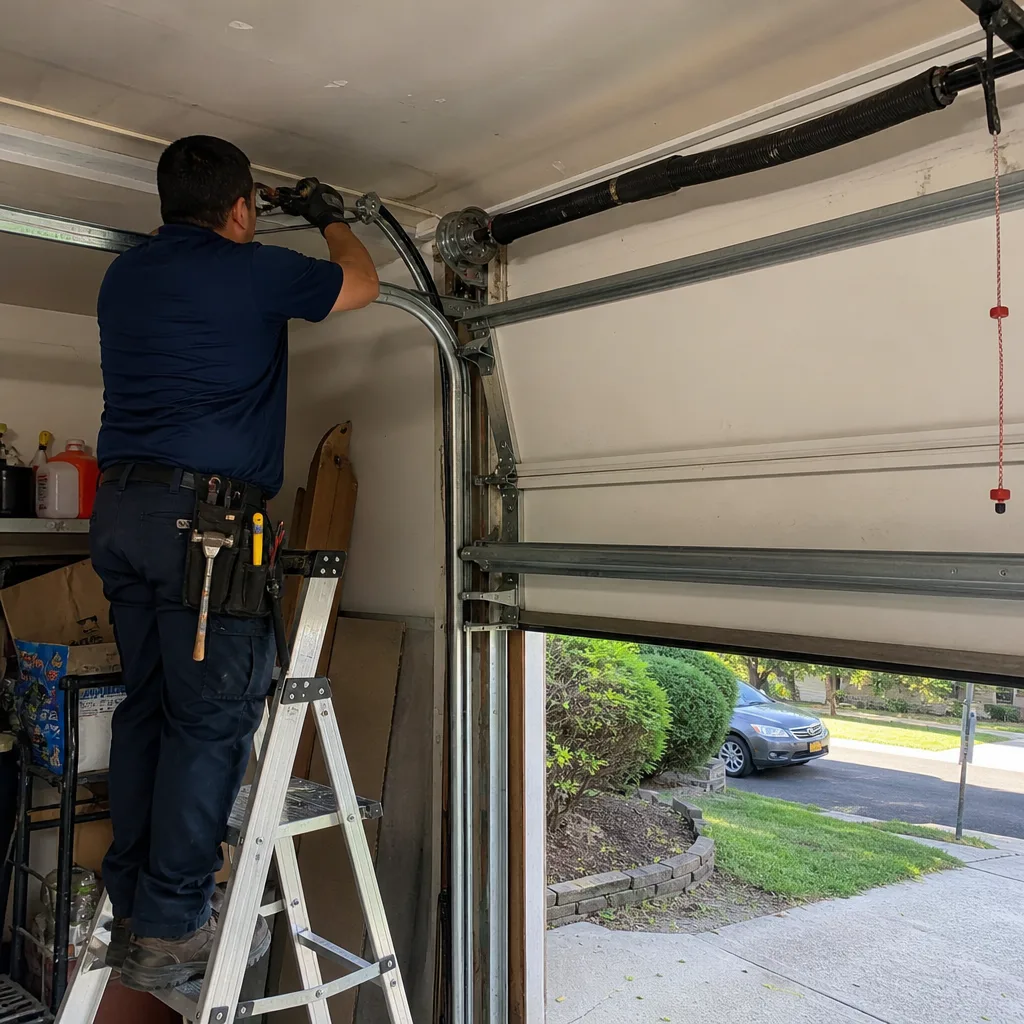
Last updated November 22, 2026
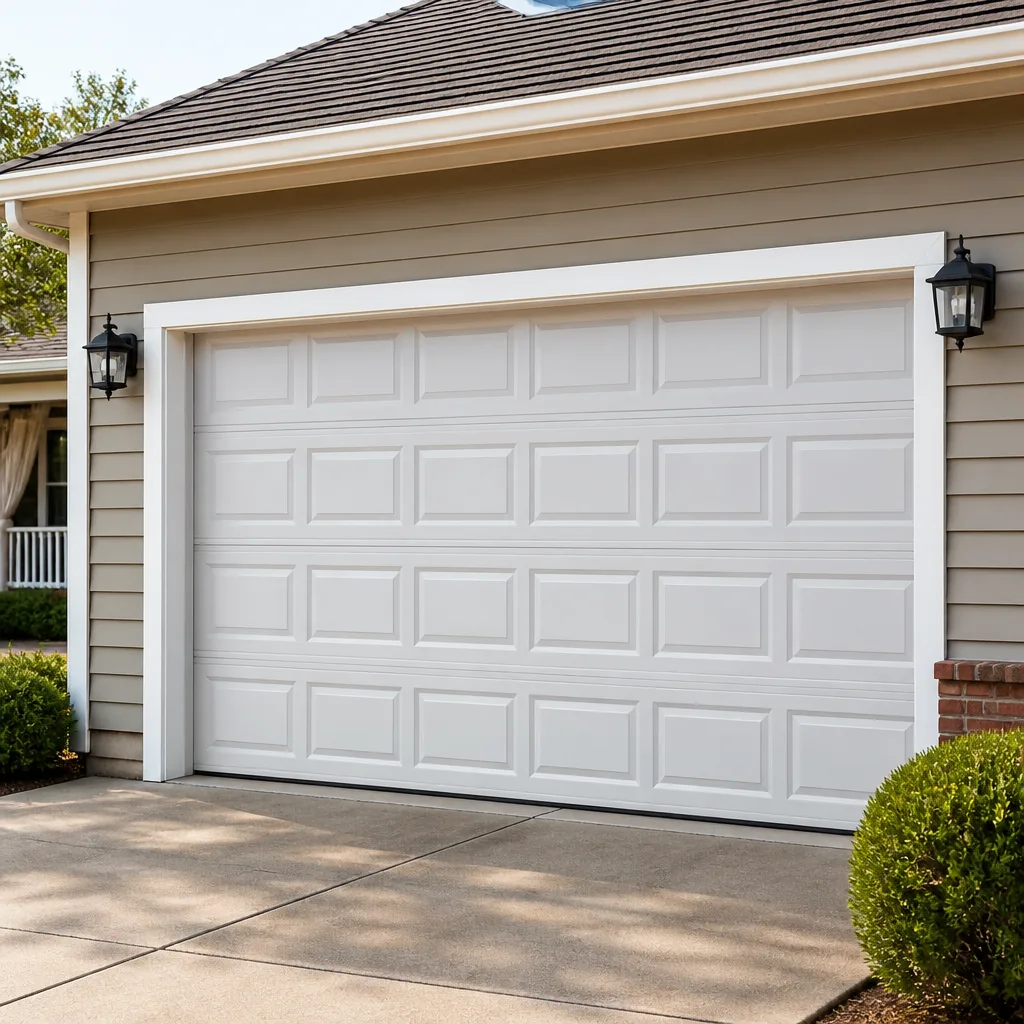 Raised-panel steel
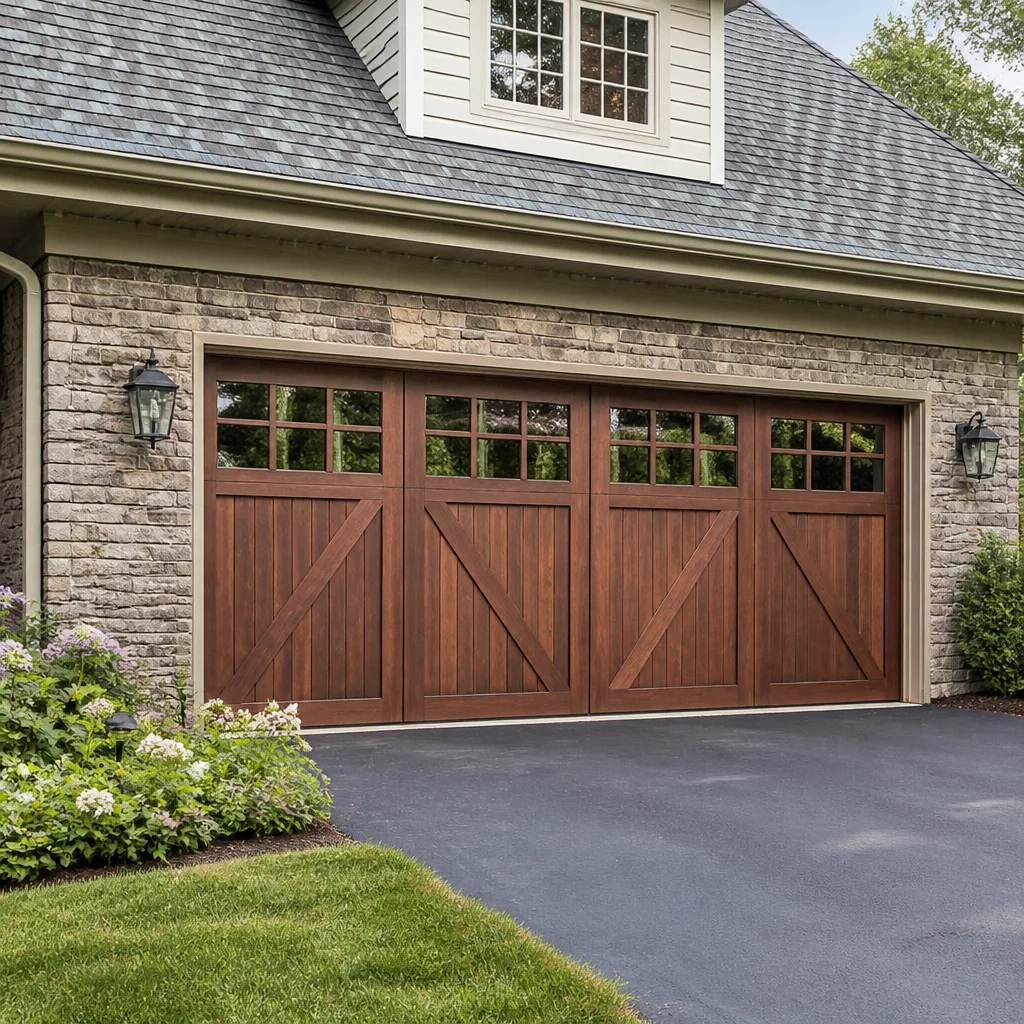 Carriage house
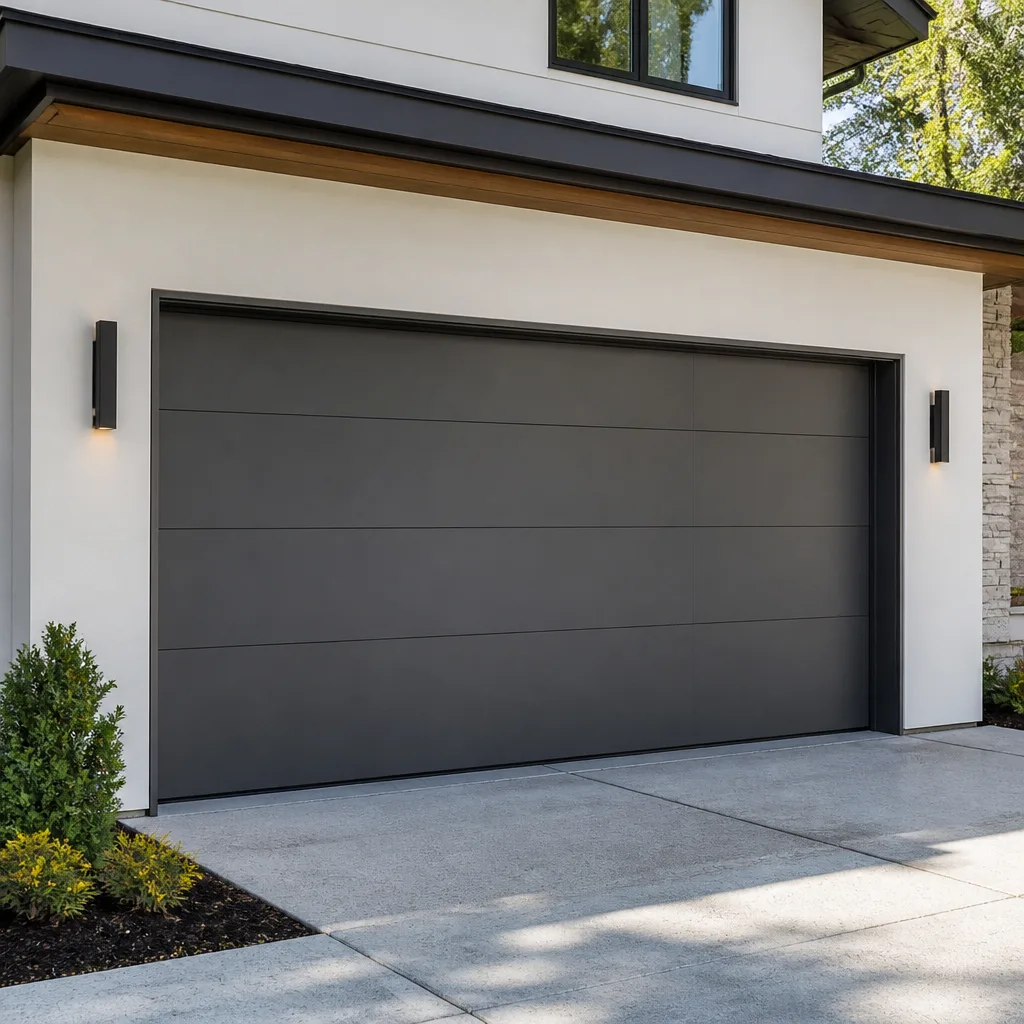 Modern flush
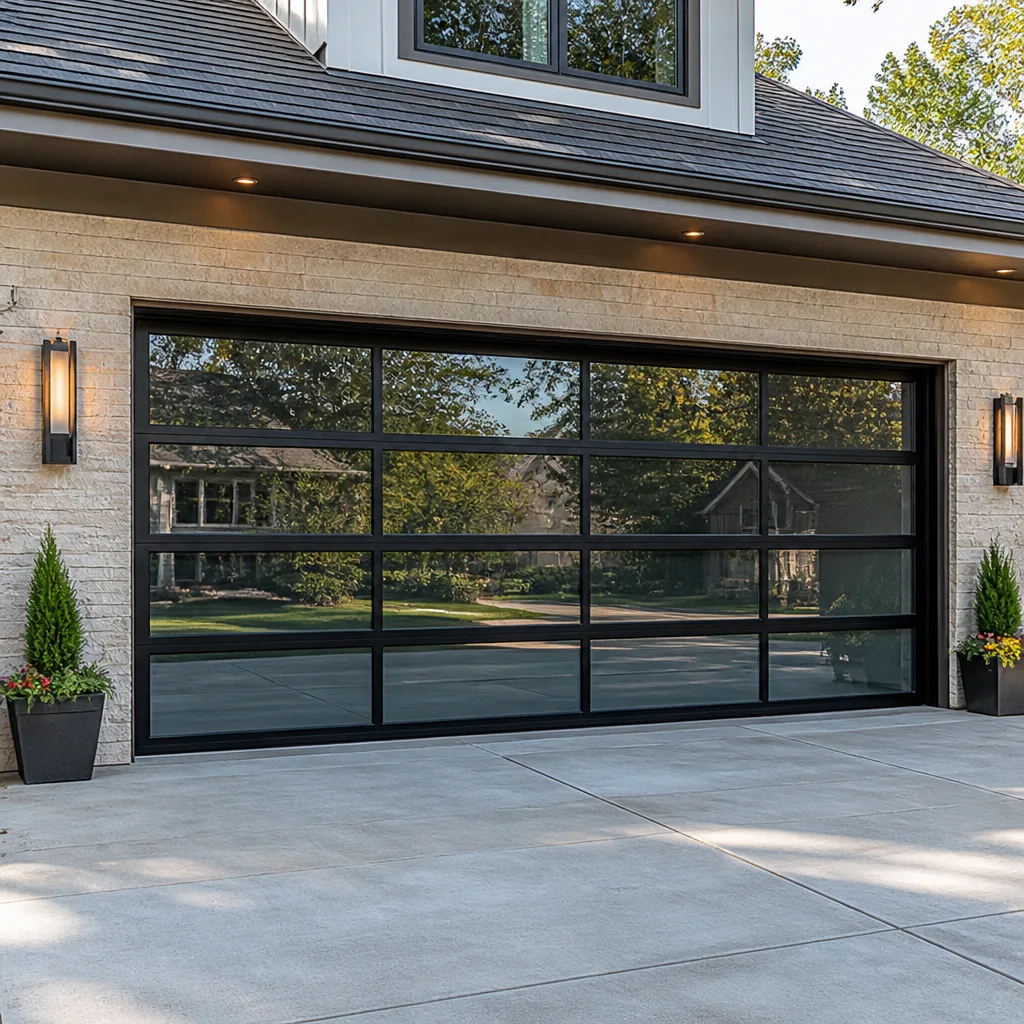 Full-view glass
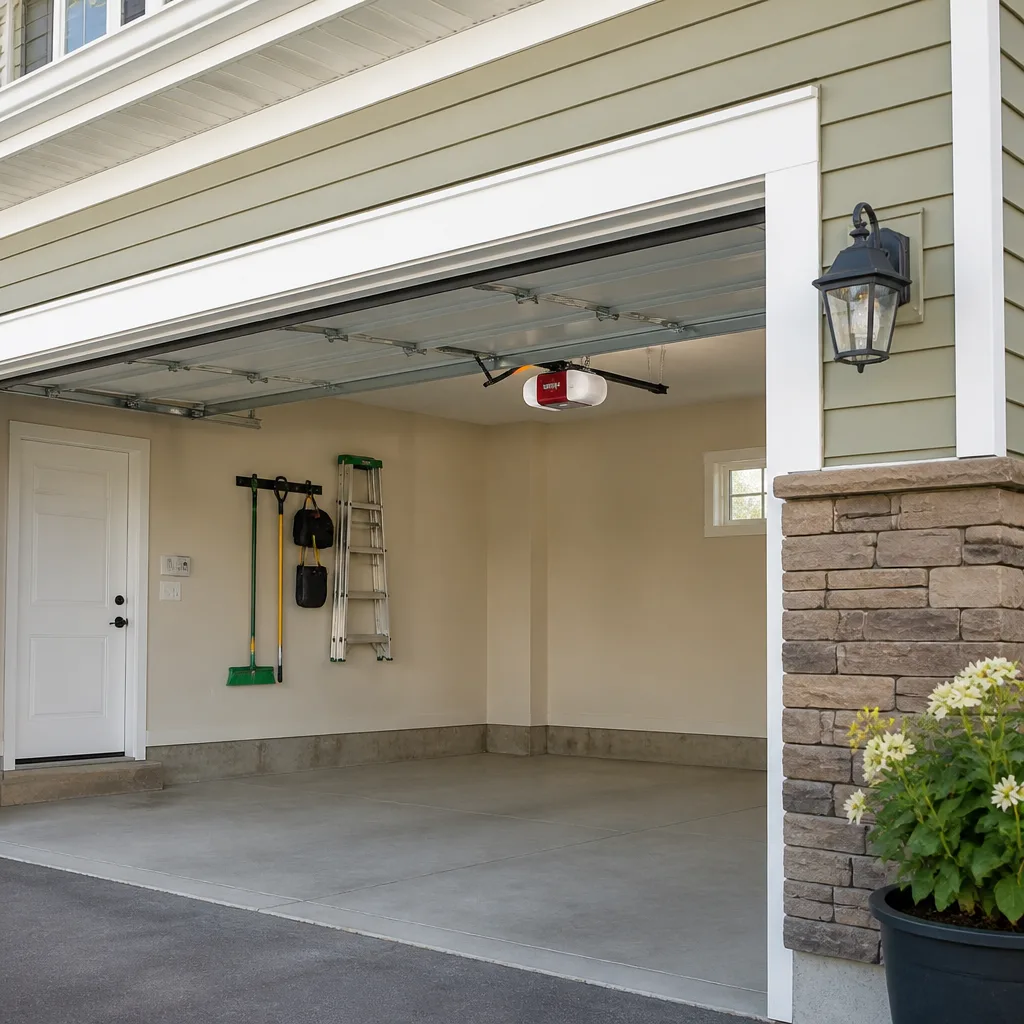 LiftMaster openers
 Chamberlain openers
Full 25-point door and opener safety check with every visit - springs, cables, rollers, tracks, and your LiftMaster or Chamberlain opener included
You get a price before we start. It does not change when the pro arrives.
Get your free estimateGarage Door Repair Maintenance Checklist for Brentwood Homeowners
Most garage door maintenance checklists floating around the internet were written for a climate that doesn’t exist here. They tell you to lubricate the springs and call it a day. But the failure pattern we see across Brentwood is different: it’s the sequence that matters. Torsion springs snap before rollers seize, cables fray before bottom seals crack, and the single most-skipped lubrication point on a Long Island door is the torsion shaft itself. That one omission accelerates spring fatigue faster than anything else, and it’s not on most generic lists. This guide walks through what to inspect first, what lubricant goes on what part, how to read a balance test, and when a visual cue means 30 days instead of 90.
Styles & brands we work with
- Raised-panel steel
- Carriage house
- Modern flush
- Full-view glass
- LiftMaster openers
- Chamberlain openers
Quick Answer
A proper garage door maintenance checklist for Brentwood involves eight checks in a specific order: torsion spring shaft lubrication, spring wear indicators, cable inspection, roller condition, bottom seal integrity, opener force and safety-reverse testing, hardware torque, and a balance test. Do this twice a year and you’ll catch the failure patterns that lead to emergency calls before they happen. The order below is sequenced by how frequently each item fails on Brentwood doors, not by how easy it is to check.
Table of Contents
- Why Maintenance Order Matters in Brentwood
- Step 1: Lubricate the Torsion Spring Shaft
- Step 2: Read the Springs for Wear
- Step 3: Inspect Cables and Rollers
- Step 4: Check the Bottom Seal
- Step 5: Test the Opener and Safety Reverse
- Step 6: Tighten, Torque, and Balance
- Common Mistakes to Avoid
- When to Call a Professional
- Frequently Asked Questions
Why Maintenance Order Matters in Brentwood
Every garage door has the same eight components. What changes from one town to the next is which ones degrade first. On Long Island, the humidity swings between summer and winter do more damage to bare-metal contact points than the dry inland air does further west. That shifts the priority list. A checklist that tells you to start with rollers is fine in Arizona. In Brentwood, it misses the part most likely to cause a sudden failure. The torsion spring shaft, the steel rod that runs above the door and carries the torsion springs, is exposed metal that rarely gets lubricated. When it dries out, the spring coils bind against it instead of gliding. That friction adds to the stress already baked into every cycle, and over months of daily use it shortens the spring’s life. What you’ll learn below is a maintenance sequence built around that reality, plus what each item’s result tells you about how much life is left in the component. Most of these checks take five minutes. The full sweep is a weekend project twice a year.
One more thing worth saying up front: a homeowner can safely check everything on this list. Performing certain repairs, especially anything involving torsion springs or cables under tension, is a different story entirely. Those parts store enough energy to cause serious injury if handled with improvised tools. We’ll flag that clearly as we go.
Step 1: Lubricate the Torsion Spring Shaft
The torsion spring shaft is the component most generic checklists skip, and it’s the one that matters most in Brentwood. The shaft is a steel rod that runs above the door. The torsion springs coil around it, and when the door opens or closes, those coils twist along the shaft. If the shaft is dry, the coils scrape instead of slide. That scraping is friction, and friction is heat and wear, and wear is what eventually snaps a spring. The fix is a ten-second job. The wrong lubricant makes it worse.
What to use on the shaft
- Correct: A white lithium grease spray or a dedicated garage door lubricant. Both stay put on the shaft and resist being thrown off by the spring’s motion.
- Correct: A silicone-based spray lubricant for the spring coil itself if you want to be thorough.
- Wrong: WD-40 in its standard form. It’s a solvent, not a lubricant. It cuts through grease and evaporates, leaving the shaft drier than when you started. It also attracts dust, which turns into a grinding paste on the shaft.
- Wrong: Motor oil or cooking oil. Both run off the shaft within days and leave a mess on the door panel below.
Apply the lubricant along the full length of the shaft where the springs sit, plus a light coat on the bearing plates at each end. Wipe off any excess before you cycle the door. Do this every six months. If the springs already look worn (Step 2 covers that), lubricating the shaft won’t undo past damage, but it will slow the rate of future wear. It’s cheap insurance and it costs less than ten minutes. If you ever see a broken spring, stop checking and call for garage door spring repair. Spring work is not a DIY job.
Step 2: Read the Springs for Wear
Torsion springs, or on older Brentwood doors the extension springs that run along the horizontal tracks, don’t fail without warning. They give you weeks of signs first. The problem is most homeowners don’t know what those signs look like. Here’s what to look for.
- Visible gaps in the coil. A healthy torsion spring has tight, even coils. If you see a gap of an eighth of an inch or more between coils, the spring has stretched and lost tension. That’s a wear indicator, not a failure yet, but it means replacement is on the horizon.
- Rust streaks on the spring wire. Long Island’s humidity shows up here first. Rust on the spring wire itself is a corrosion sign, different from the surface rust on the door panels. It means the steel is thinning from the inside out.
- A door that feels heavier than it used to. If lifting the door by hand (with the opener disconnected, and only if it’s safe to do so) requires noticeably more effort than it did last year, the springs are losing their lift.
- Uneven lifting. One side comes up faster than the other. That usually points to one spring doing more work than its partner.
- A loud bang at the end of a cycle. That’s a spring that’s about to break. Stop using the door and call a specialist.
Extension springs on older doors have their own tell: a stretched-out coil with visible gaps between the loops. Those springs should have a safety cable running through them as a backup. If yours don’t, that’s an immediate upgrade. We’ve seen what a snapped extension spring does when it flies free, and it’s the reason we tell every Brentwood homeowner to check for those cable restraints first.
Step 3: Inspect Cables and Rollers
Cables are the most dangerous part of the door to inspect closely. The good news is that you can spot their condition from the floor without touching them. Look for these two things:
- Fraying at the drum ends. The cables wind onto drums at the top corners of the door. If the cable is winding unevenly or looks like a cluster of broken strands, the cable is compromised. Don’t try to fix it. A cable under tension can take a finger off.
- Rust or kinks along the length. A cable with visible rust or a sharp kink is weaker at that spot. It’s still holding, but it’s on its way out.
Rollers are the opposite: easy to inspect and easy to replace. A steel roller wears its bearing out gradually and starts squeaking or rumbling. A nylon roller, which most newer garage door repair jobs upgrade to, is quieter but can crack if the door has been knocked. Look for flat spots on the roller edge, or play in the roller stem. If the roller wobbles when you nudge it, it’s time.
Here’s the useful part: the condition of your cables and rollers tells you how long you have. Frayed cable strands or a cracked roller is a 30-day replacement window. Rust on a cable or squeaking from a roller is a 90-day window. That’s a rough rule, not a guarantee, but it aligns with what we see on Brentwood doors. A cable that’s already fraying won’t make it through another season of daily cycling.
Step 4: Check the Bottom Seal
The bottom seal, also called the weather seal, is a rubber or vinyl strip along the bottom edge of the door. It does three things: seals out drafts and water, cushions the door when it hits the ground, and, on doors with a pressure sensor, keeps the sensor’s leading edge aligned. In Brentwood it gets a workout from summer heat and winter cold cycling it through expansion and contraction. Look for tearing, a permanent flattening at the contact points, or a visible gap when the door is closed. A $20 replacement seal is far cheaper than the draft it’s letting into the garage, and much cheaper than a new door panel that rusted from the inside out because water sat under the door. If the seal gets replaced and the door still looks like it’s touching the ground on one side but floating on the other, the door is out of level and needs an adjustment. That’s an opener and track calibration job, not a seal job. Our garage door opener repair team can diagnose the alignment if the seal replacement alone doesn’t fix the gap.
Step 5: Test the Opener and Safety Reverse
This is the single most important functional test, and it’s the one most homeowners never run. Every opener installed in the last thirty years has a safety-reverse feature: a mechanism that sends the door back up if it hits something on the way down. If it’s failed, a garage door can close on a child, a pet, or a car hood with serious force. The test takes thirty seconds.
- Place a two-by-four on the ground in the center of the door’s path.
- Close the door with the opener.
- The door must reverse within a couple of inches of touching the board.
- If it doesn’t reverse, or if it grinds the board and stops, the opener’s force setting is too high or the sensor is misaligned.
Now test the photo-eye sensors: the two small lenses on brackets near the bottom of the tracks on either side. Break the beam with a hand or a cardboard box while the door is closing. The door must reverse immediately. If it doesn’t, the opener is unsafe to use until it’s repaired. Don’t try to adjust force settings or swap sensors on your own. On a Genie or Chamberlain unit, the force calibration is set with a specific sequence on the opener head, and setting it too high is a genuine hazard. Call a specialist. We run this exact test on every opener we touch, which is why it’s the first thing we check on a service call to Brentwood.
Step 6: Tighten, Torque, and Balance
The last group of checks is the least urgent but the most relaxing once you’ve done them.
- Hinges and brackets. Every hinge on the door is held by screws that work loose over time. Snug them with a screwdriver. Don’t over-tighten. Over-tightening can crack the hinge plate on older doors.
- Track alignment. The vertical and horizontal tracks should be straight and parallel. Look down the length of the track from the ground. If the track is bent or bowed, the door will bind. Track straightening requires loosening the track’s anchor bolts, and that can be dangerous if the door drops. Leave it to a technician.
- Bolts on the spring anchor plate. These should be snug. If you can see daylight through a gap at the anchor plate, stop and call for help.
The balance test
A balance test tells you how much spring life you have left. Here’s how:
- Disconnect the opener by pulling the red manual release handle.
- Lift the door by hand to the halfway point and let go.
- A balanced door stays put at any height.
- A door that sags toward the floor or rises toward the ceiling is unbalanced.
- A door that falls quickly means the springs have lost most of their lift.
Run this test at three heights: knee, chest, and above the head. If the door drifts at all three, that’s a 90-day signal. If it falls fast at any one, the springs need replacement now. The balance test is also your best early warning for a spring that’s about to break. A door that “feels heavy” during the test is a spring that’s lost its tension, and it’s much better to replace it on your schedule than the day it snaps.
Common Mistakes to Avoid
Here’s where Brentwood homeowners get into trouble with garage door maintenance. Every one of these has a consequence attached.
- Using WD-40 as a lubricant anywhere on the door. It’s a solvent, not a lubricant. It strips whatever protection was on the shaft, roller stems, or hinges, and the part is worse off afterward. Use a white lithium or dedicated door grease instead, or don’t lubricate at all until you have the right product.
- Lubricating the track. The vertical tracks are not meant to be greased. Grease on the track picks up grit and turns into a grinding paste that wears the rollers out faster. Clean the track with a dry rag. Leave it dry.
- Over-tightening hinge screws. The most common result is a cracked hinge. That’s a $15 part to replace, but the crack often goes unnoticed until the roller drops out of the hinge mid-cycle.
- Adjusting the opener’s force setting to make a heavy door work. This is the mistake that voids the manufacturer’s warranty on most openers, including the Chamberlain and Genie units we see all over Brentwood. It also hides the real problem, which is worn springs or a misaligned track, and it turns the safety-reverse feature into a false promise.
- Using the wrong lubricant on the opener’s rail or screw drive. Screw-drive openers need a specific lubricant that’s different from the belt-drive recommendation. Using grease on a belt-drive opener’s rail can cause the belt to slip and shorten its life.
- Skipping the seal replacement every couple of years. A $20 seal replacement twice a decade is cheap. A door panel that rusts from the inside because water was pooling under it isn’t, and a delaminating panel on a Clopay or Amarr door usually means replacing the section, not the seal.
- Assuming a door that opens is a door that’s safe. The opener can cycle the door while the safety-reverse feature is completely dead. Running the reverse test is the only way to know.
One note on warranties: performing maintenance with the wrong product can void your manufacturer’s warranty. Most of the major door brands, including Wayne Dalton and Clopay, list specific approved lubricants in their documentation. If you’re not sure, check your manual before reaching for a spray can. And if anything involving springs, cables, or the anchor plate is involved, don’t touch it. That’s what the warranty is protecting against, and there’s a reason those parts come with warning labels.
When to Call a Professional
Some of this guide is homeowner-safe. The rest isn’t. Call a specialist if any of these apply: you found a broken spring, a frayed cable, a gap at the spring anchor plate, a bent track, or a safety-reverse test that failed. Call before the next open-and-close cycle if you heard a loud snap from the garage, and definitely before you use the door again. Spring work and cable work are the two jobs on this list that carry real injury risk, and no amount of lubrication fixes either. Brentwood Garage Door Repair Pros offers free estimates in Brentwood. Call (833) 348-8658. We answer 24/7. Fast dispatch from 7am to 7pm, Sunday through Friday. Our technicians have up to 9 years of experience on systems from Genie, Clopay, Amarr, Wayne Dalton, and the rest of the major brands, and our estimates are free. The price you agree to before the job starts is the price on the invoice.
Frequently Asked Questions
Twice a year is the right cadence for a Brentwood door: once in early spring and once in early fall, when the temperature swings are hardest on the metal. The full checklist above, from the torsion shaft through the balance test, should run alongside it. If your door gets heavy daily use, doing the shaft lubrication once a month instead of every six months is worth the effort.
White lithium grease or a dedicated garage door spray lubricant is safe for the spring coil and the torsion shaft. Standard WD-40 is not a lubricant and shouldn’t be used on either. Silicone spray is also acceptable for the spring coil but not for the shaft, where you want a heavier product that stays put. If your door’s manual lists a specific product, use that.
No. Torsion springs are under enough tension to cause serious injury even to people who’ve done other home repairs. The right tool for the job is a winding bar and a controlled procedure, not a weekend YouTube tutorial. Brentwood Garage Door Repair Pros handles spring repair through trained specialists, and our garage door spring repair team is the one part of this checklist we’d never hand to a homeowner.
An unbalanced door means the springs have lost enough tension that they can no longer hold the door’s weight on their own. The door isn’t broken yet, but the opener is now doing work it was never designed to do, and that shortens its life. If the door falls fast when you let go at the halfway point, the springs need replacement now, not in three months.
Yes, and that’s why it’s on the checklist. The reverse mechanism is a set of sensors and an internal logic board on the opener. Either one can fail silently while the door still cycles normally. Running the two-by-four test and the photo-eye test once a month is the only way to know your opener is actually safe.
Yes, mostly because it catches the top two failure patterns before they become emergency calls. A lubricated torsion shaft and a current balance test reduce the odds of a sudden spring snap, and the reverse test ensures your door is safe to use. That’s the real value of a checklist: not the maintenance itself, but the warning it gives you.
The Bottom Line
Most garage door maintenance advice online is generic. It doesn’t tell you what order to check things in, it doesn’t tell you which lubricant goes on which part, and it doesn’t tell you what a balance test result actually means. This checklist does, built around the failure patterns that show up on Brentwood doors specifically. Lubricate the torsion shaft every six months. Read the springs for wear. Test the safety reverse every month. Do a balance test at three heights. Call a professional the moment you find a broken spring, a frayed cable, or a failed reverse test. Brentwood Garage Door Repair Pros is here for that call: repair, opener diagnostics, spring work, and full installation, all one team. Call (833) 348-8658 for a free estimate.
If you’d rather read more about what we do before you call, start with Brentwood Garage Door Repair Pros.
Written by the team at Brentwood Garage Door Repair Pros.
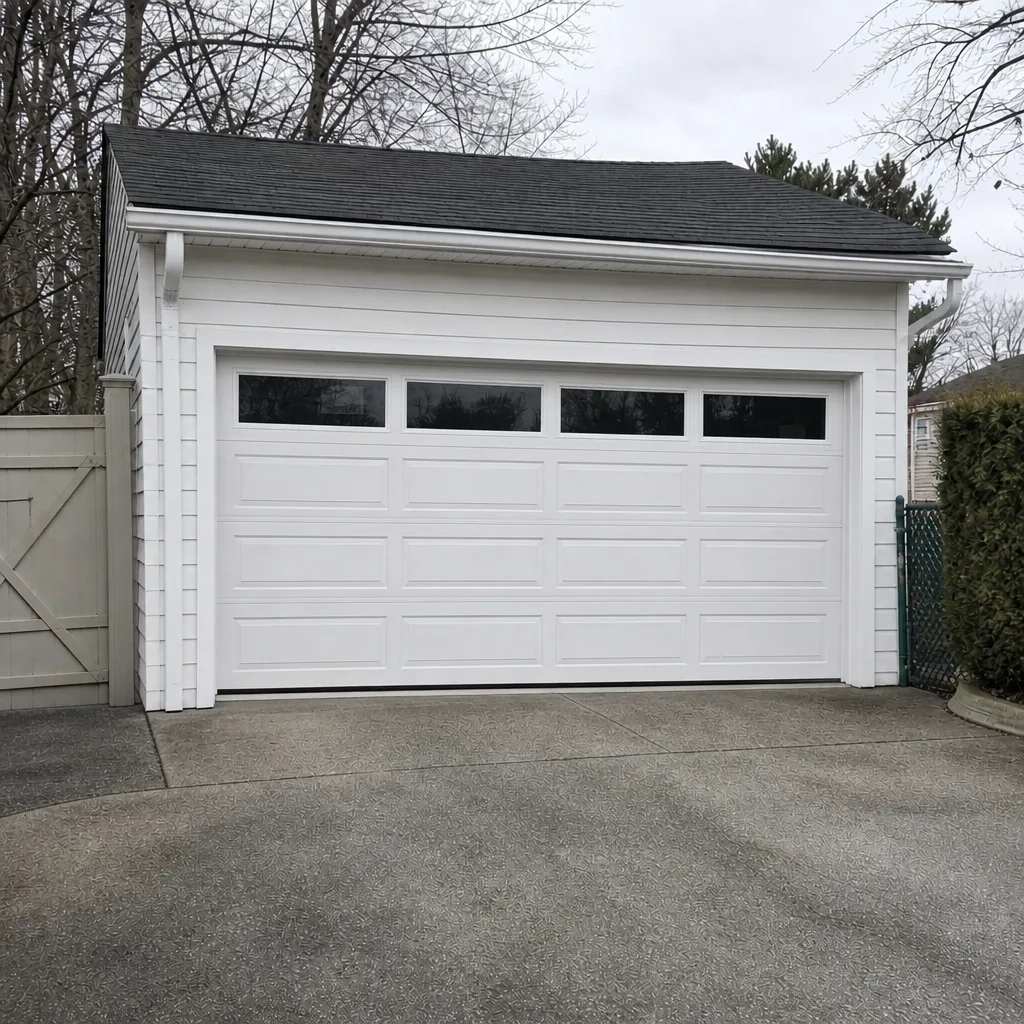
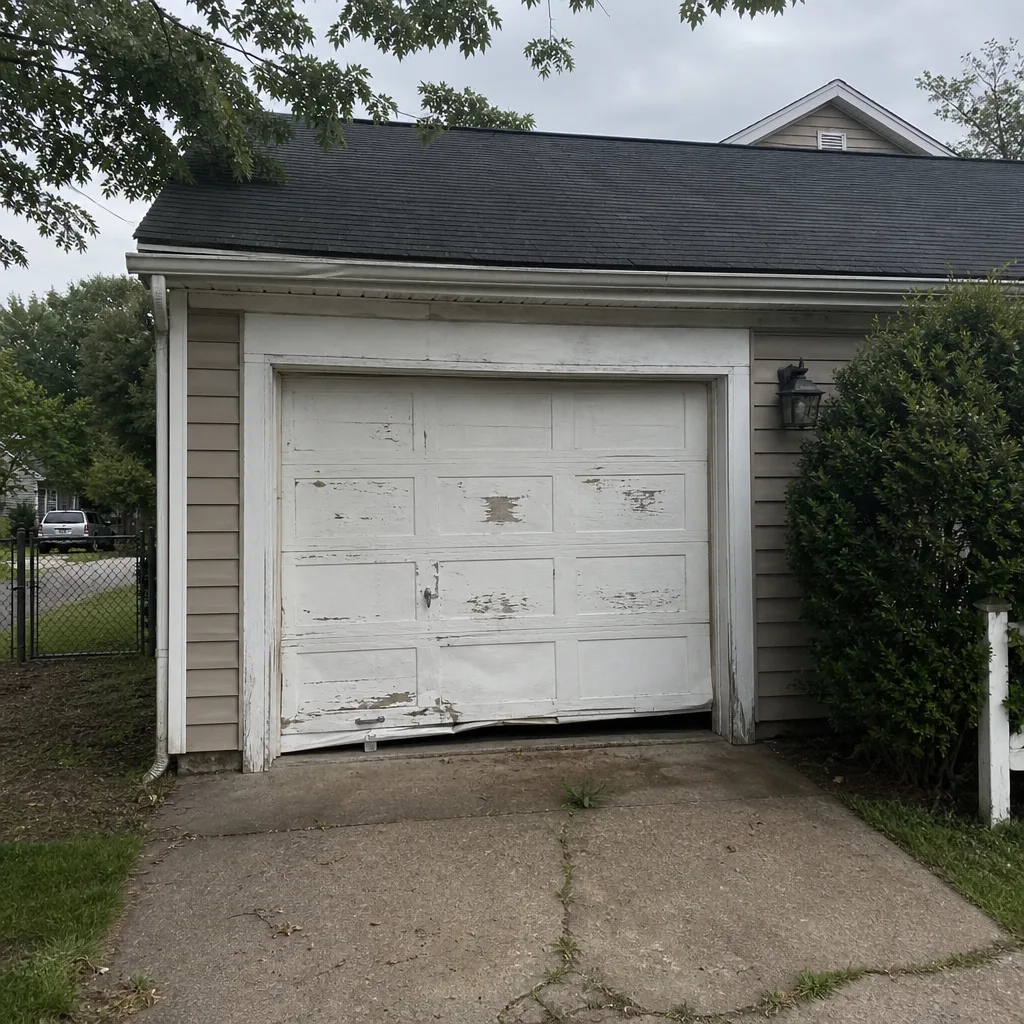
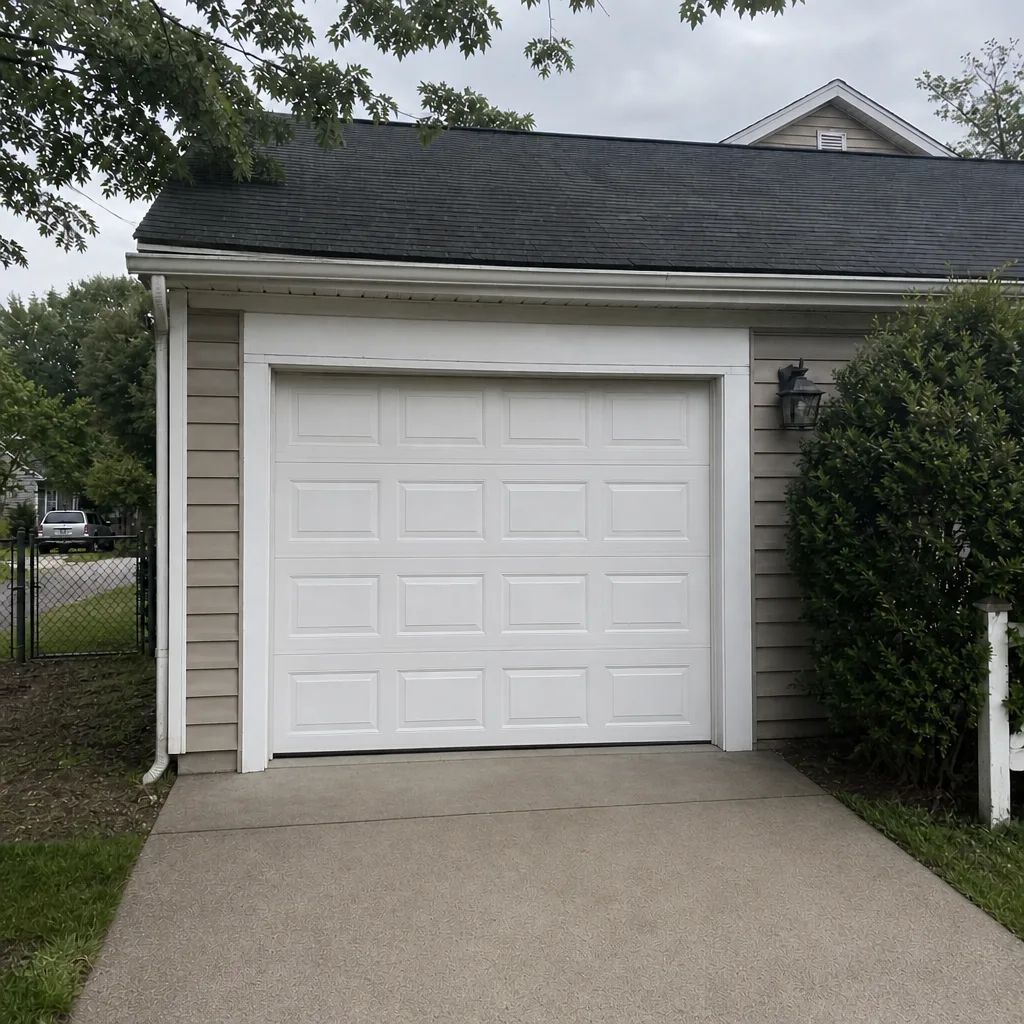
See the difference
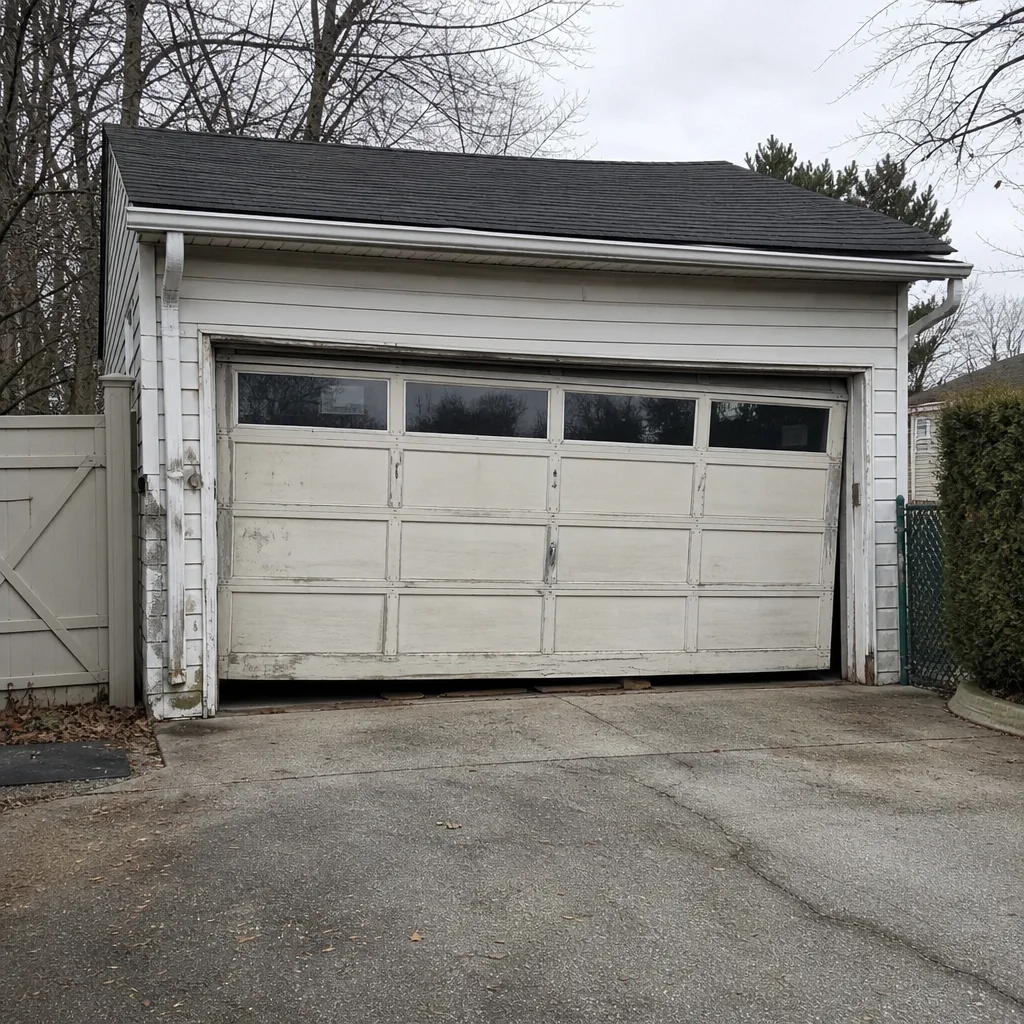 Before
 After
 Before
 After
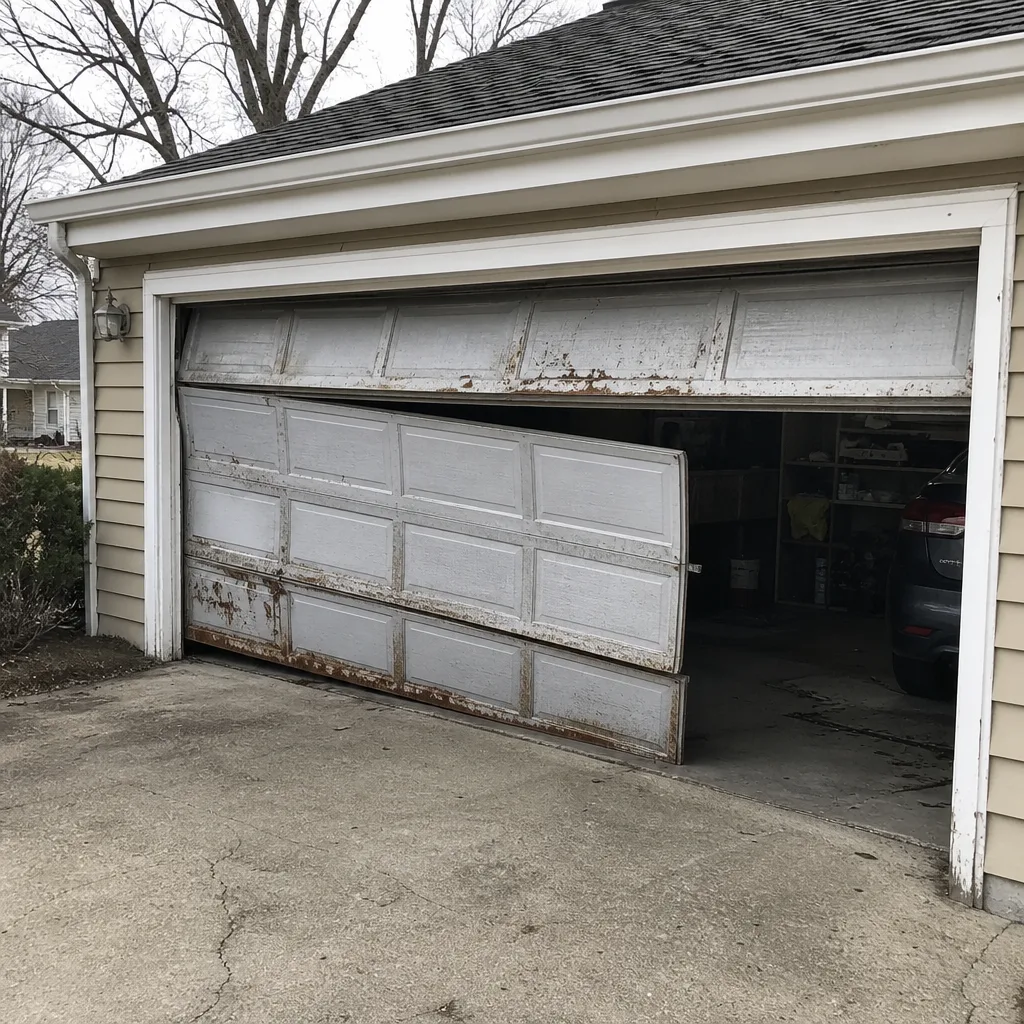 Before
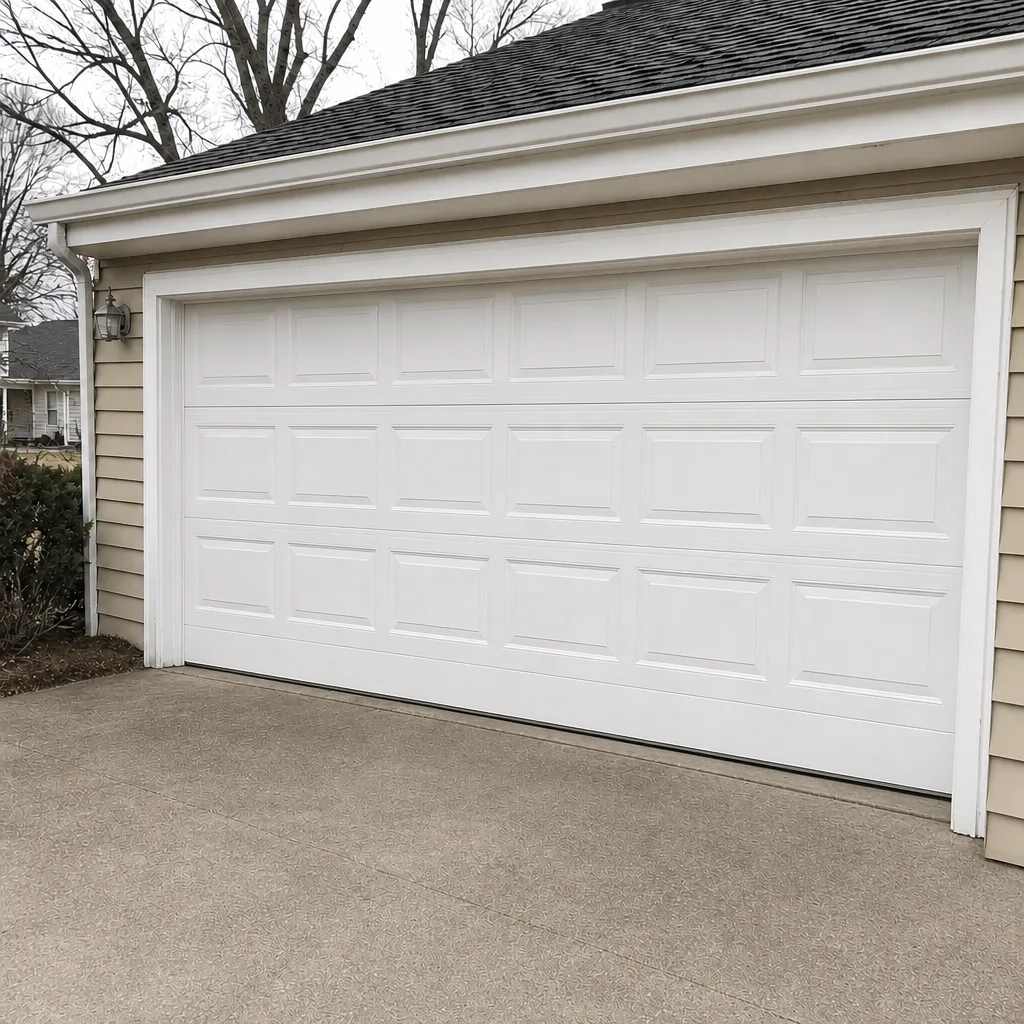 After